Tag Archives: mini makeover

{mini makeover} mini plants + basic wood shelf.

i’ve been seeing lots and lots of projects on blogs and pinterest lately involving these adorable mini succulents and cactus plants. i’ve been wanting to work towards incorporating more greenery into our home, and figured these little guys would be a great place to start. i’m sure you can find them at lots of different garden-type stores, but i found mine at home depot, which has a great selection right now. each one was under $3! as for the pots, they unfortunately came in these flimsy plastic ones with a hole in the bottom, but thankfully, you can get mini terra cotta pots at dollar tree – 3 for $1! score!

as for the shelf in the photos below, well, i really wish we could offer you a nice DIY tutorial, but the truth is, the shelf in the photos was rendition #74839473984 of what we were actually trying to accomplish, so we apparently shouldn’t be claiming any expertise here. the basic idea is a piece of wood, about 8″ deep, stained, and screwed into the wall with simple “L” brackets for an “industrial” look.

even though this shelf took an embarrassingly long time to get up and resulted in way too many unused pre-drilled holes in our walls (yes, this wasn’t the first wall we tried it on), i actually love how it turned out. i love being able to style and change what’s on it whenever i feel like it, and it makes a great new home for the start of our indoor plant collection!


sources:
“fall in love” print,  rawartletterpress etsy shop (collette, the shop owner, is by far the nicest seller i’ve ever ordered from, and her shop is full of amazing pre-made and custom letterpress prints)
heart map prints, DIY
frames, ikea ribba series
all plants, large terra cotta pot, and green pot, home depot
mini terra cotta pots, dollar tree

Posted in house + home | Tagged , | 2 Comments

living room update.

our living room has been kind of a mess since christmas. when we took down the christmas prints we had on hangers after the holidays, some of them chipped paint off the wall and made some pretty ugly holes. we also had a couple of nail holes that we weren’t planning to use anymore. before putting any of our non-holiday decor and frames back up, i wanted the wall to get patched up and painted over so it looked nice again, and up until last week, we were waiting on maintenance for that. yep, 3 months.

when we lived in tucson, we had a couch that we really liked, but we ended up selling it before the move to downsize because this apartment is technically furnished. unfortunately, it was furnished with a very comfortable, but very puke green-brown color couch and love seat set. we had the love seat moved to storage right away because this living room really isn’t suited for two couches, but we’ve made do with the sofa. since it’s actually really comfy, we toyed with the idea of having a slipcover made, but in the end that seemed like a waste because eventually we’d move out and have a useless slipcover. we finally decided that because we would eventually be moving off campus and would need a couch, that maybe we should start looking for our own again and invest in one we can have for a long time, both here and when we move.

i really wanted something mid-century modern, and we quickly learned that so does everyone else, so they’re expensive. although i love the options at places like cb2 and crate & barrel, they were just waaaaay too much. reluctantly, we decided to look at nebraska furniture mart, even though i was pretty convinced they wouldn’t have anything modern enough. but whaddaya know, the mart has an “urban living” section downstairs that we’d never noticed before, and we actually found several couches that fit the style criteria we were looking for. we finally landed on the one you see in the photos because we loved the style, it was comfortable, it was one of the colors we were looking for, and it was at least 50% less expensive than any other sofa we’d seen online in that style.

suffice it to say that i’m basically in love with it. it’s our first big furniture investment, and i’m 100% happy that it’s what we decided to go with. i love that it has a lower back, so it makes our small living room seem bigger. the other couch was massive and took up way too much space. i learned recently that to make a room look bigger, make sure all your furniture is off the ground, so i like that this couch has modern legs that elevate it a little bit and keep your eyes moving.

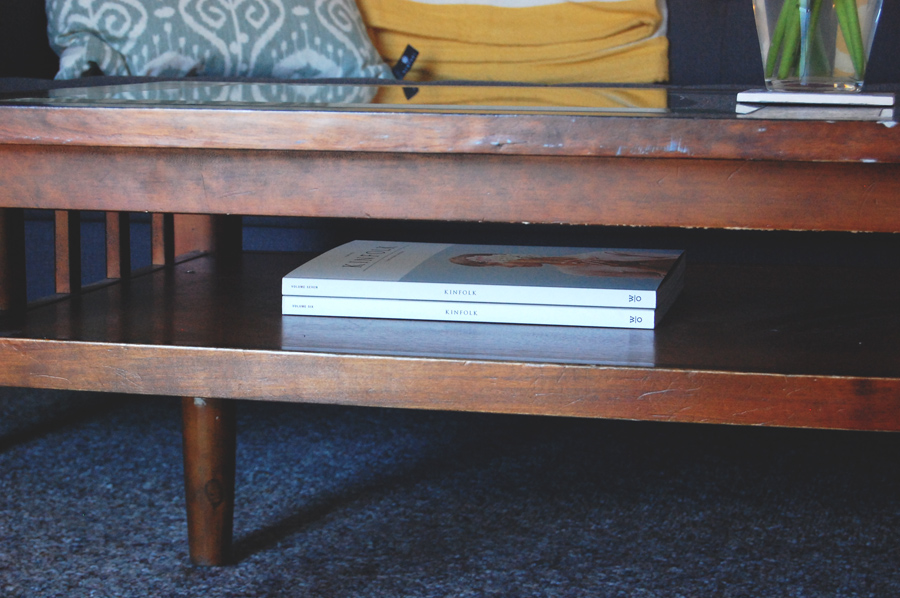
after the couch arrived came the little bit of decorating that you see here. i couldn’t really decide what colors i wanted the accents to be, so finally we just went out shopping to see what we could find. we ended up getting both of the throw pillows from tj maxx and the striped blanket from target. as for the lamp…i’ve been wanting to get a tripod lamp for awhile now, ever since seeing this one at west elm. i wasn’t quite ready to make that investment, and was feeling a little sad about not having a lamp that matched the new space, but then we happened upon the target version for $50 and are settling for that for now.

the two posters behind the couch are blown up engineer prints from staples. the camera print was free from a blog i follow, and the heart print was a $5 digital download from caravan shoppe (link at the bottom of this post – they have tons of amazing art that can be printed in large format). i don’t know where staples engineer prints have been all my life, but they’re awesome. basically, it’s a black and white print on really thin paper for super cheap. it’s definitely not photo quality, but it’s the size that makes the statement in this case. they have a range of sizes all the way up to 36″ x 48″ i believe. we got both of ours printed at 18″ x 24″ and the total was around $3.50. yes, that’s it. i know. go get one right now!

we’re actually going to be moving buildings in the next couple of months, so i just hung the prints with washi tape. in the future, i might look for frames for these or look into custom framing or some other more permanent mounting solution. you could definitely splurge on custom framing with these since the actually art is very inexpensive.

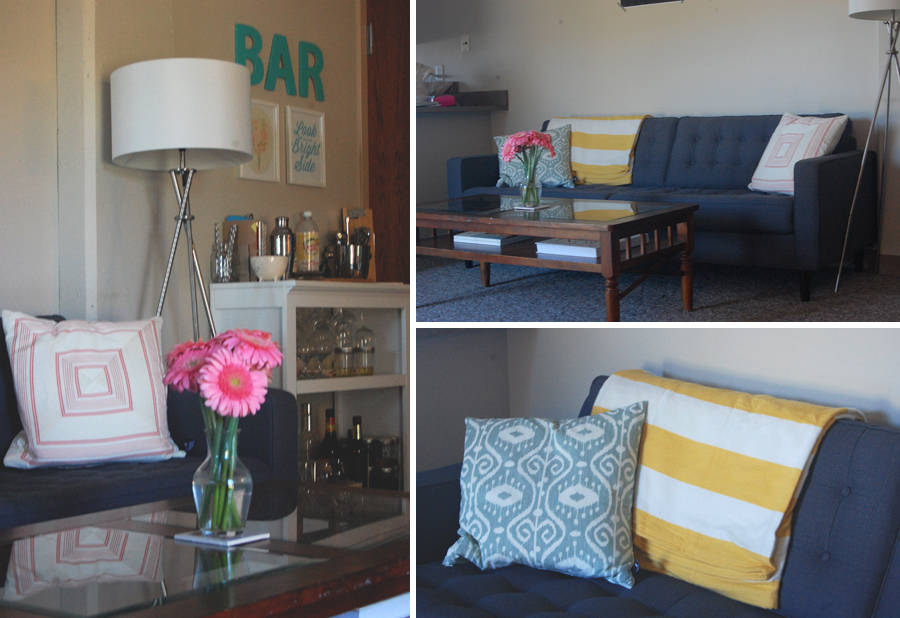
the space is still coming together, but it’s already ten times better than what it was just a couple of weeks ago. i’m hoping to add a few more elements still – things that aren’t necessarily permanent or hard to move – like some big house plants perhaps.

—–
sources:
eq3 contemporary jack charcoal sofa, nebraska furniture mart
tripod lamp, target (they don’t have ours online, but here’s a very similar one)
throw pillows, tj maxx
rugby stripe throw in gold, target
heart print, caravan shoppe
vintage camera poster, how about orange
color palette based on martha stewart paint, in order: seal, persimmon red, salvia, and pencil

Posted in house + home | Tagged , | 1 Comment

vintage serving cart makeover.

happy monday! i hope everyone had a lovely easter weekend! we were lucky to have a weekend full of sunshine and good weather…until last night when it snowed. again. will we ever have spring in omaha? le sigh.

anyways, lately we’ve been enjoying the new “flea market flip” show on hgtv, which basically consists of two teams finding old, worn items at a flea market and then competing against each other to repurpose and then resell the items for the most profit. we’ve been casually searching antique and thrift stores over the last couple weeks for our very own flea market flip, and finally came across an old serving cart at an antique shop in the benson neighborhood this past weekend. it was very worn and rusty, but still really sturdy and in good condition overall. for $28 we figured we would take her home and give her a little makeover!

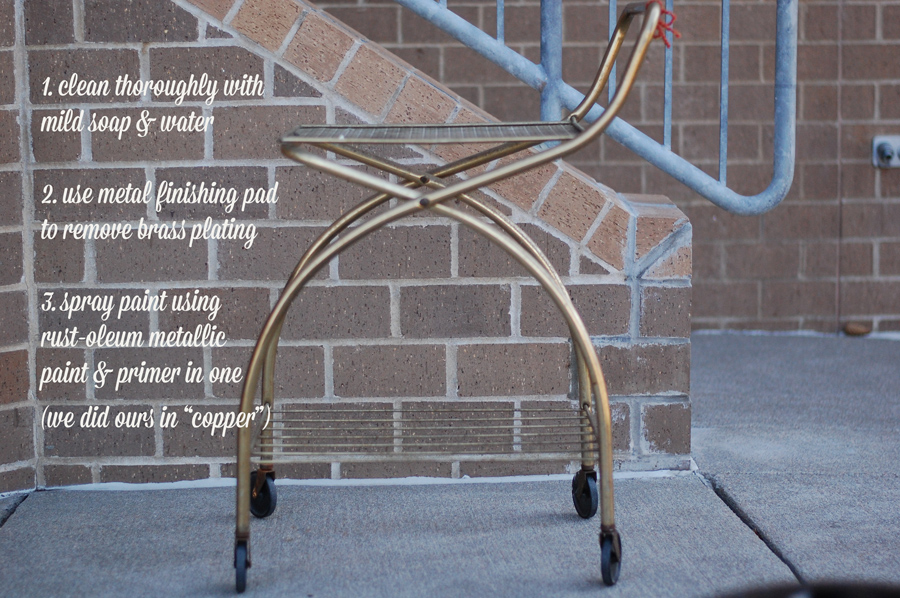
after a little googling, we found that our first step was to see if the cart was real brass or not. we learned that brass is not magnetic, so if you try sticking something magnetic to your item and it doesn’t work, you have real brass. if it does stick, you most likely have something brass-plated, which is what our cart ended up being. in the end, this was better because it’s easier to clean up and we didn’t feel as bad about painting over it. here’s a rundown of what we did from before to after…

yep, it was really that easy. it needed a good cleaning with soap and water, so we did that and let it dry off outside for awhile. then we removed the brass plating so the paint would stick better, using a metal finishing pad (but extra fine grit sandpaper or steel wool are said to work, too). after that, it was ready to be painted. we looked for something a little closer to the brass color, but i actually really like how the copper turned out. it looks a little cleaner while still preserving the integrity and oldness of the piece, i think.

 we decided for now the best place for our new serving cart would be in one of the corners of our bedroom. i think it’s a really versatile piece and could work in a variety of rooms for different purposes, but right now, this is where it works best. i decided to style it pretty simply with our redlands citrus art print, a couple of vintage glasses and a decanter, some flowers, and magazine overflow on the bottom. in the future, i think it would also make a great little table for our record player with storage for albums on the bottom, but this works great and spruces up that little corner for now. a few more photos…

sources:
serving cart, thrifted
cocktail glasses, thrifted (similar)
crystal decanter, thrifted
white tray, target
redlands citrus art print, a slice in time via amazon
fabric ampersand, anthropologie

Posted in house + home | Tagged , | 2 Comments

{diy} bookcase makeover.

we recently bought the book young house love: 243 ways to paint, craft, update & show your home some love by sherry and john petersik (you may have heard of their blog by the same name). although the book includes projects of varying time commitments, cost, and difficulty, most of the ideas in the book are very simple – that is, they’re really adaptable to how much money (if any) you have to spend, how much space you have in your house or apartment, how much you can really alter your house or apartment (i.e. if you’re renting), and how comfortable you are with certain tools, etc. basically, if you have zero money, next to no space, and don’t trust yourself with a toolbox, there’s still plenty of projects in here for you. sometimes i get overwhelmed when i see certain home decor/improvement projects on pinterest or other blogs because they seem SO specific, and i fear that it won’t turn out well unless i follow the instructions exactly, but this book is different. it’s meant to be a springboard for whatever inspires you and whatever you can manage in your own space.

since we live in a relatively small space that we can’t alter too much, i usually gravitate towards projects that involve sprucing up things we already have in ways that i haven’t thought about before. i’ve already bookmarked tons of ideas in the book that fit this description, including the first project in the book: faux wallpaper the back of your bookcase.

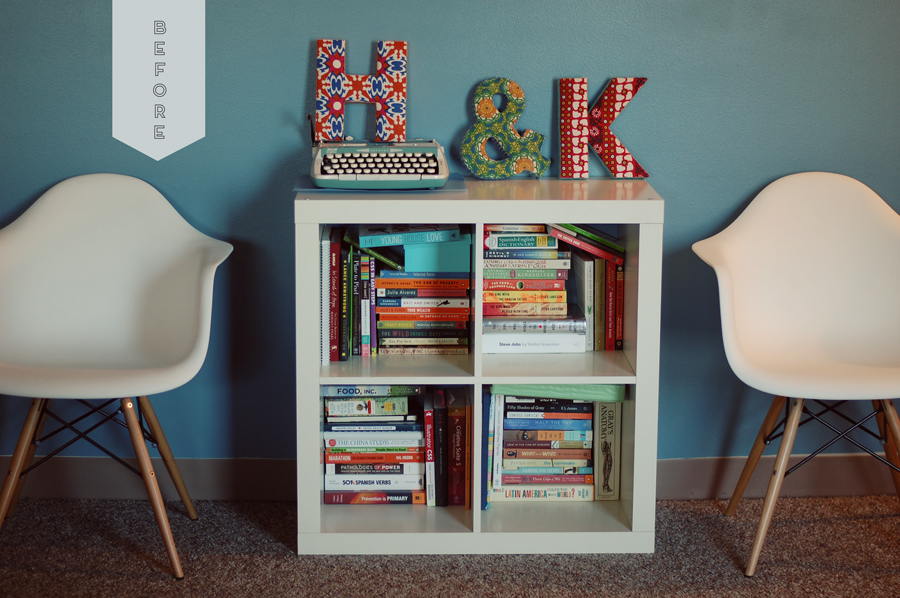
we purchased this ikea bookcase awhile back and it’s been decorated many different ways throughout the last couple of years. it’s gone from being filled with just books to being a little more styled and now, since the move, it’s filled up with books again. not that lots o’ books is ever a bad things, but i’ve been ready to do something different with it lately, and i loved the “wallpapering” idea. i’ve seen people paint the open space behind their bookcases before, and i love how it looks, but i hate the idea of not being able to move the bookcase in the future because there will be weird blocks of paint on the wall.

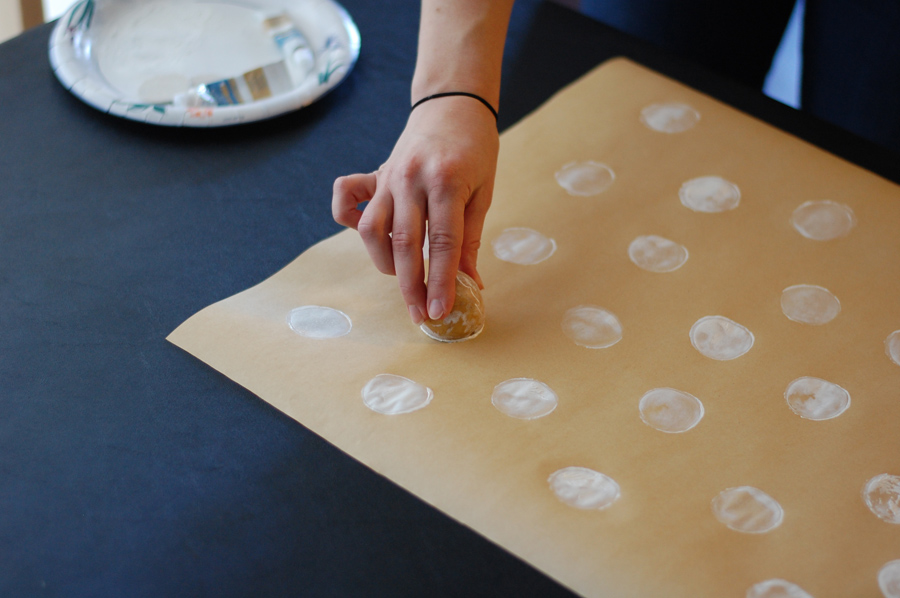
you can pretty much use anything for the faux wallpaper, including fabric, scrapbook or other fancy paper, wrapping paper, or anything else you can think of. i went to target, bought a roll of brown kraft paper for a couple dollars, and decided i wanted to make it look slightly more exciting. i used a potato to create a circle stamp and stamped four squares of paper with white polka dots.

once it dried, i wrapped the paper around four square pieces of cardboard that i cut from a box we found in the recycling (it was super clean). (you’ll want to make sure that your paper/fabric is slightly bigger than whatever you are wrapping it around, so that you can secure it). i just used tape to secure the paper to the cardboard, but if you’re using fabric, you may want to try glue. then, i just popped each square into the squares in the bookcase. they went in pretty well, but one of them i had to insert from behind because it was a little too large to fit in from the front. here’s how it turned out:

we moved most of the books into another area and kept just a few on this bookcase, because i wanted it to have a simpler look and feature some other items as well, like my vintage typewriter, the piggy bank my bff ruth gave me for my sweet 16, and our memory jar from last year.

i also made the little tray that you see below with a cheap frame from hobby lobby, two drawer pulls from home depot, and fabric to put below the glass. i love little trays like this, but they’re always so pricey, so this is a great way to make your own! (here’s the how-to)

can’t wait to share more little projects as we complete them! have you made any simple updates in your homes lately?

Posted in house + home | Tagged , | 2 Comments

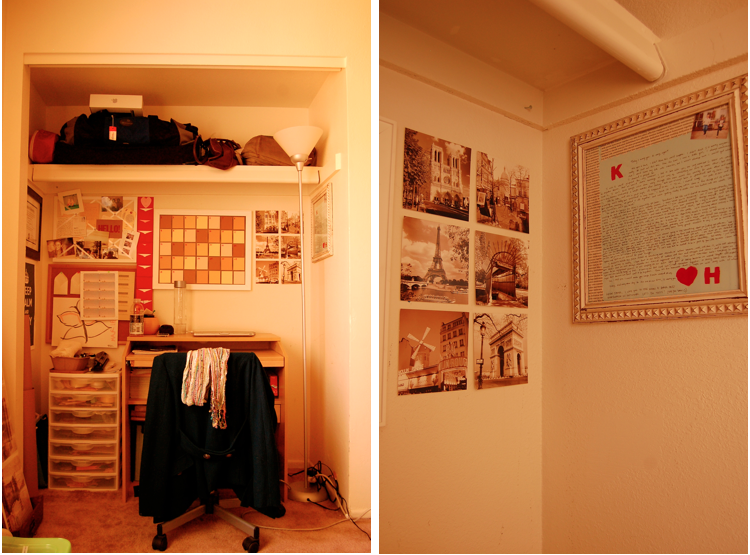
{mini makeover} closet office.

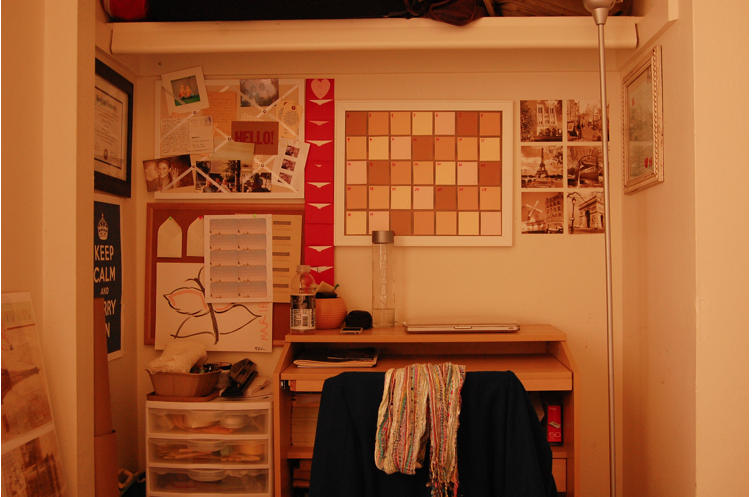
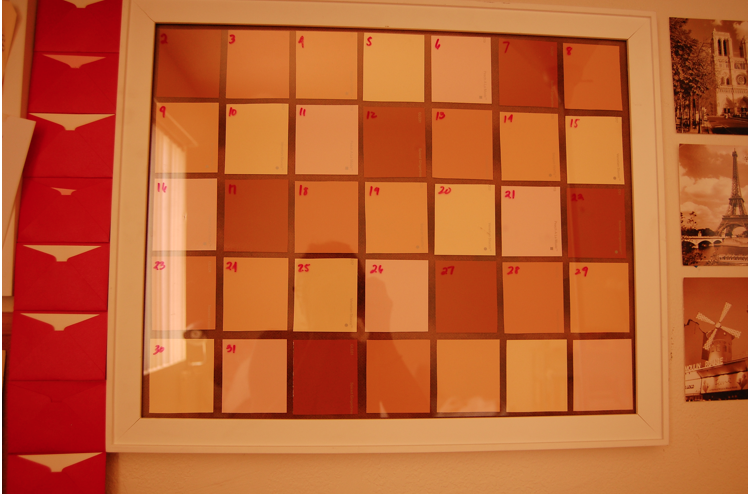
a couple weeks ago we turned our second bedroom into a little reading nook (pictures soon!), which meant that we needed to do a little arranging to make things fit. eventually, we ended up taking the closet doors off and moving our little desk inside of it. it worked out great, as i was finally able to find a place for lots of random photos & frames & prints that had just been sitting around on the floor for months and months.

Posted in house + home | Tagged | 2 Comments