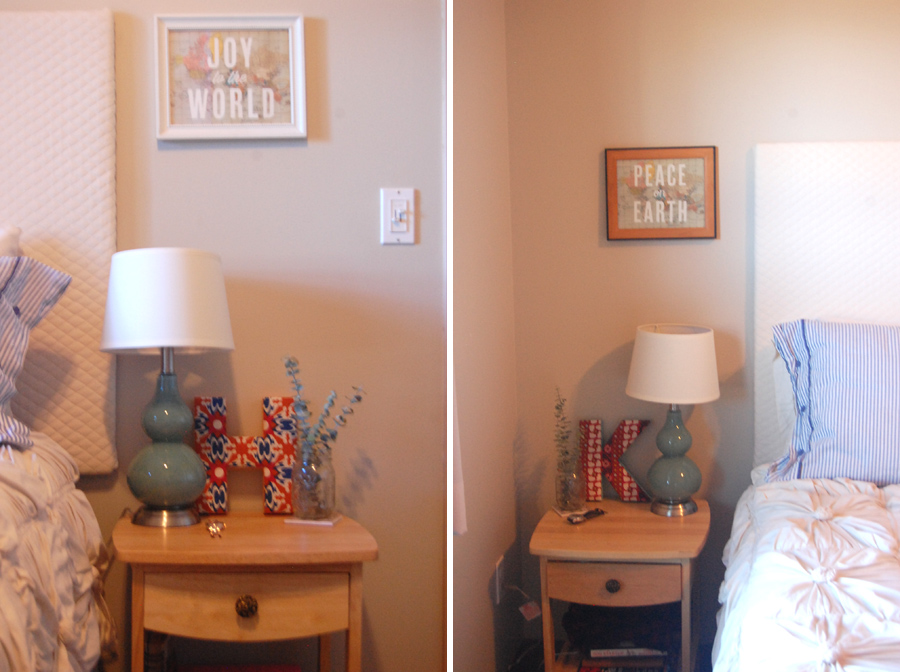
when i was trying to figure out what to post about this week, i remembered that we made a new headboard for our bedroom a few months back but never got around to posting the photos and tutorial. since then, we’ve done a little more work on our bedroom and now have matching nightstands and cute new lamps, so i figured it might be a good time to showcase this project!
you may have seen the headboard project that we constructed for our apartment in tucson, but sadly it didn’t make the move with us. another headboard look that i’ve always loved is the upholstered headboard on design*sponge seen below. while i knew we couldn’t do anything quite that fancy, i figured we could use the same principles to do something much simpler that would work for our new space.
here is what you’ll need in order to make one of your own:
–one piece of plywood (ours was 3/4″ thick), cut to 36″ (width) x 62″ (height) [these measurements are for a queen bed. for a larger or smaller bed, you’ll want to measure the width of your bed and then add a few inches on each side to get your own width]
–quilted batting: we bought ours at hobby lobby in a 72×90″ size bag. just make sure you get enough to cover the surface area of your piece of plywood plus a few extra inches on each of the four sides for stapling down
–fabric of your choice: you can literally choose anything you like – a solid color, a pattern, whatever you like. we went with a cream colored quilted-esque fabric because we weren’t sure what colors we would end up using in our bedroom and i wanted it to be neutral. the quilted texture of the fabric makes it a little bit more exciting than just a solid cream color, though. again, make sure you have enough to cover the surface area of your plywood plus extra for stapling
–staple gun & extra staples
–canvas hanger for up to 100 lbs; there’s probably a variety of things that would work to secure this type of headboard to the wall, but this is what worked for us. one side goes onto the wall, and the other side goes onto the back of the headboard, and they just slide in together. we usually struggle with getting things on the wall straight, but this actually was very simple.
once you’ve gathered all your materials together, you’re ready to begin! this works best if you have two people, so don’t try to do it on your own.
1. lay out your batting on the floor and place your headboard on top of it. if you have a lot of extra batting on the sides, you can cut some off, but you will want at least a few inches hanging off on each side in order to staple down.

2. next, one person should hold down and pull the batting taught while the other person staples the batting to the plywood. keep repeating this process until the batting is stapled down along all four sides of the plywood. it should look like the photo below after you complete this step.
3. prepare your fabric: most likely you’ll need to at least iron it, and maybe even give it a quick lint roll. once it’s all straightened out and cleaned off, repeat the batting process with the fabric; lay the fabric down on the floor and place the headboard on top, then secure the fabric to the plywood using the staple gun.
4. all that’s left now is to hang it up on the wall! follow the instructions on the mount or hanger that you purchased, and voila! you’re done. again, we recommend the canvas hanger that we used and that’s pictured above. we marked where we wanted it on the wall beforehand, but the great thing is if it ends up in a slightly different spot from where you intended, you can just scoot your bed over a couple inches and nobody will know.
i love how simple and basic this headboard is; since it’s a neutral color, we can feel free to change out the rest of the decor in our bedroom at any time and know that all the colors will still work together. or, if we ever decide we want to change the headboard itself, we could simply staple down another cut of fabric over it for a whole new look!


Pretty! I really like your comforter…where did you get it?
it’s from anthropologie!